
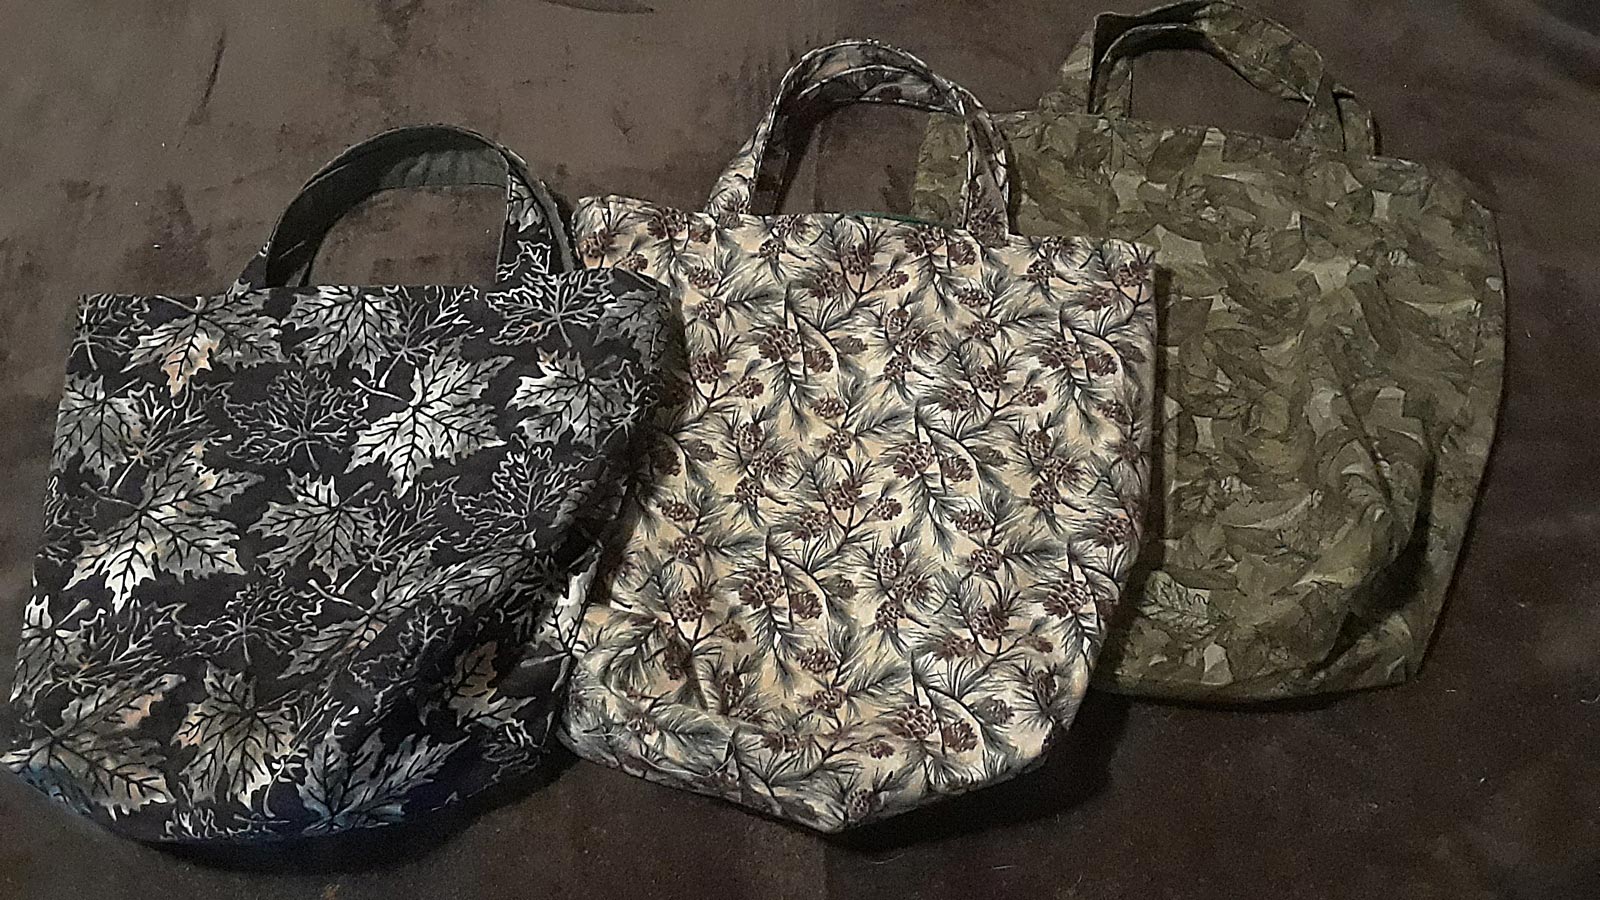
Make a reusable grocery bag
In August 2014, California became the first state to enact legislation imposing a statewide ban on single-use plastic bags at large retail stores. Several states are following California’s lead including Oregon. Although Oregon does not outright ban plastic bags yet, soon grocery stores will be charging you a minimum of 5 cents per bag.
I don’t want to be charged for bags so my solution is reusable grocery totes. I found a simple tutorial online and modified it a little to fit my needs. These bags are easy to sew, reversible, washable, and they will last for years.
Here is where I found the original tutorial: https://www.thechillydog.com/2014/03/reversible-shopping-bags.html
Good canvas-type fabric works best for these totes, but they don’t have to look utilitarian. There are lots of fun, bold prints available and I’m sure you can find a print that will be pleasing to you. I have used flannel with cotton as a liner and I have even used upholstery fabric to make these bags.
Here are the directions:
1. Cut equal size pieces that you want your shopping bags to be. Most of the bags I make are cut 18×18 or 20×20. You will need four pieces for each bag if you are going to line them. (You can use a complimentary fabric for the lining.) If you are using patterned fabric be sure to cut your fabric so that the pattern lines up when the pieces are sewn together. Tip: When I am cutting fabric for a tote bag, I fold the fabric so the fold is on the bottom. That way I do not have to make a bottom seam. Another tip is to layer your fabric and cut through all layers at once with a rotary cutter — this saves time and assures that all of your pieces are exactly the same size.
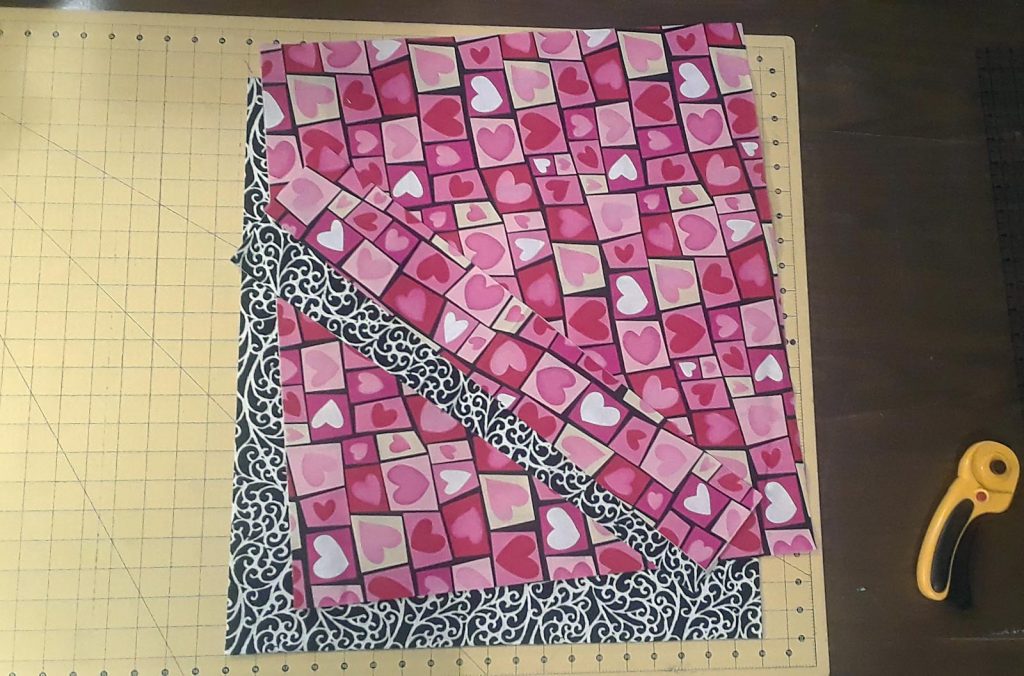
2. Press down ½ inch on the top of each piece — this will save you a little time later. It’s easier to iron them down now rather than after the sides are sewn.
3. Unfold the top and using a straight stitch sew sides together (using ¼-inch seam allowance) right sides facing on both the exterior of the bag and also the lining. Be sure to line up your pattern if you are using a patterned fabric.
4. Press seams to one side.
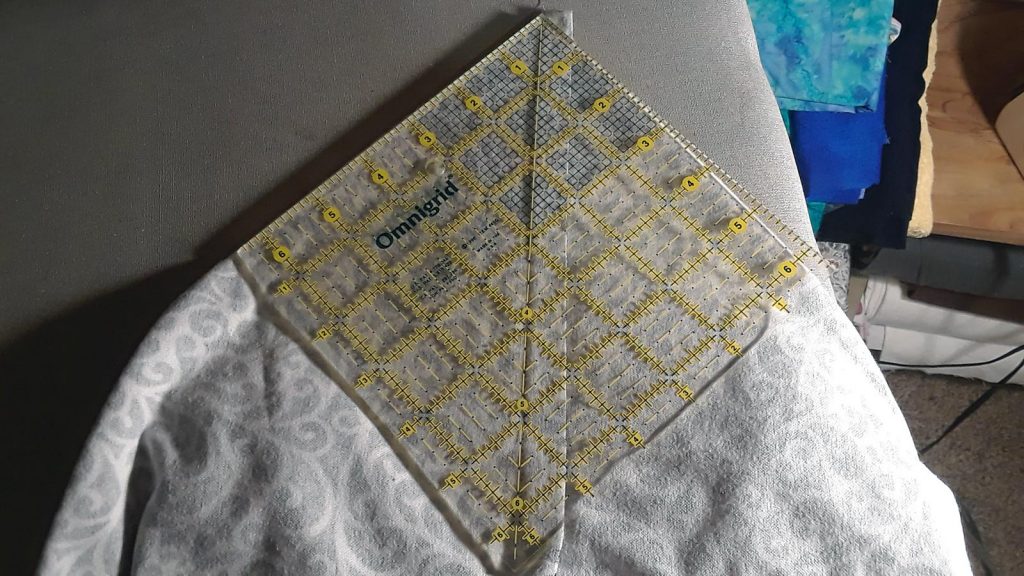
5. To create the bottom of the bag you will have to box the corners. Use both hands to pinch and pull apart the corner. As you pull, the fabric will begin to form a little peak with the corner point at the top and the seam lines running down the middle of the front and the back. I use an acrylic quilt template to make sure I get the corner pinched out evenly. (I line up the center line on the template with the seam on the bag.)
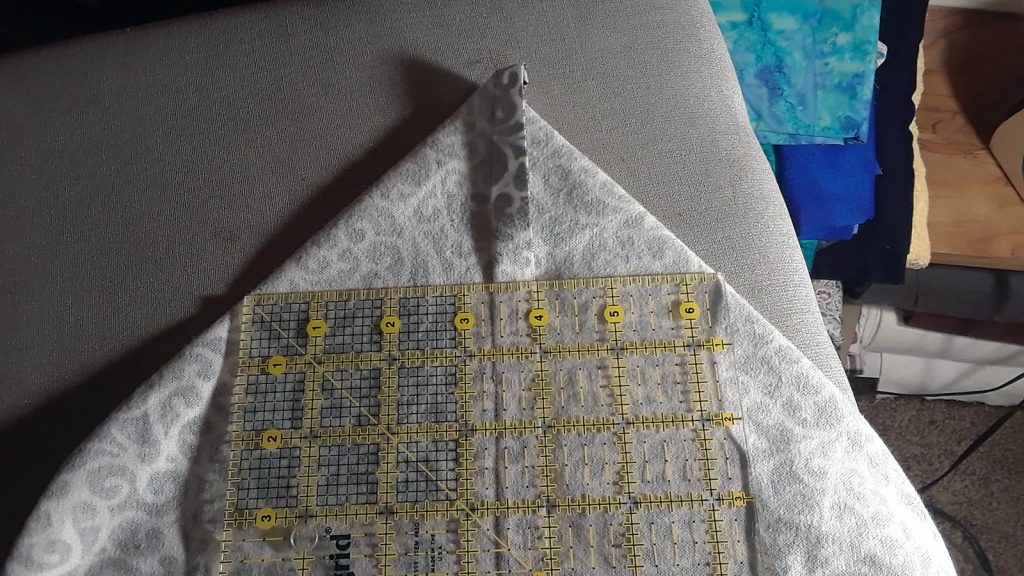
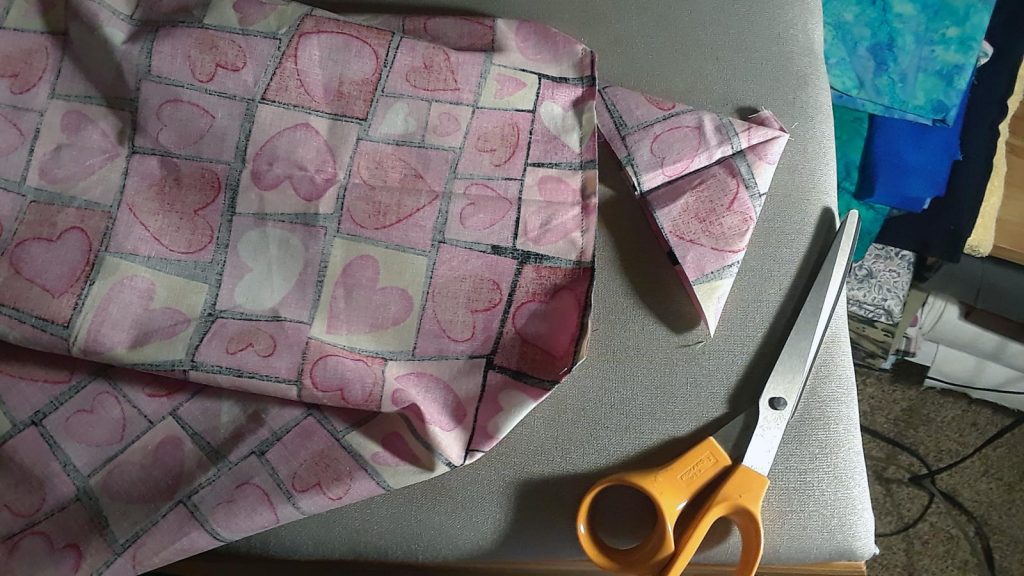
6. Measure vertically from the corner point of your seam (the actual end point of the seam — not the tip of the fabric) down along the seam line. Measure half the width of the finished width of the bottom of the bag. — or 1½ inches if you want the width of the bottom of your bag to be 3 inches, 2 inches if you want the bottom width of your bag to be 4 inches. Mark a line at this point. Sew across the line and trim off the point.
7. Then turn the exterior of the bag right side out, pushing out the corners. The lining stays wrong side out.
8. Fold down and iron around the top again if necessary. Put the lining into the exterior of the bag lining up the seams. Pin lining and exterior together around the top.
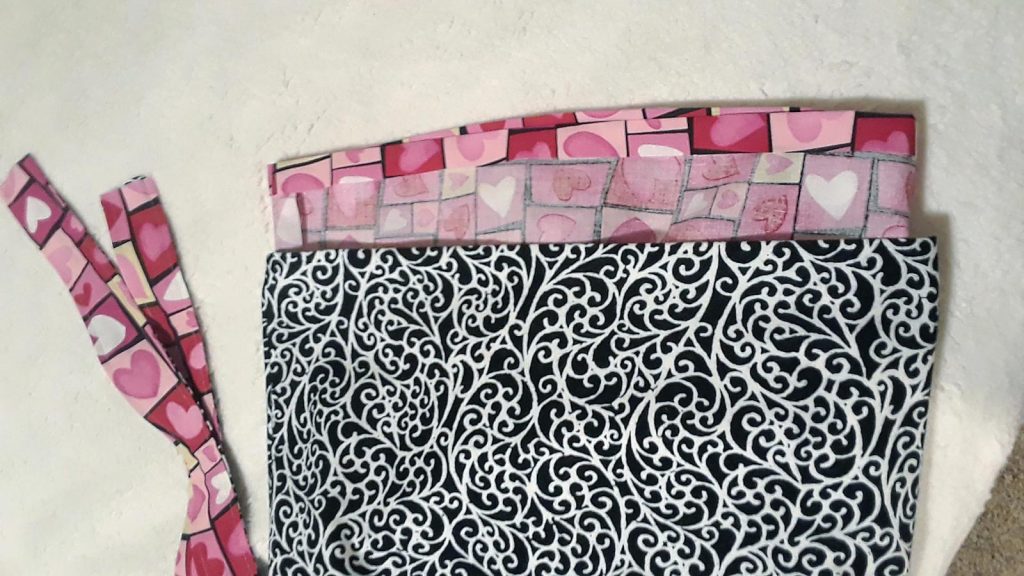
9. Cut pieces for handle straps — 3 inches wide is a good size and however long you want them to be. You will need to cut four strap pieces for each bag.
10. Fold the strap pieces in half and iron (this is just to mark the center of the piece). Then fold each side in to the center mark and iron.
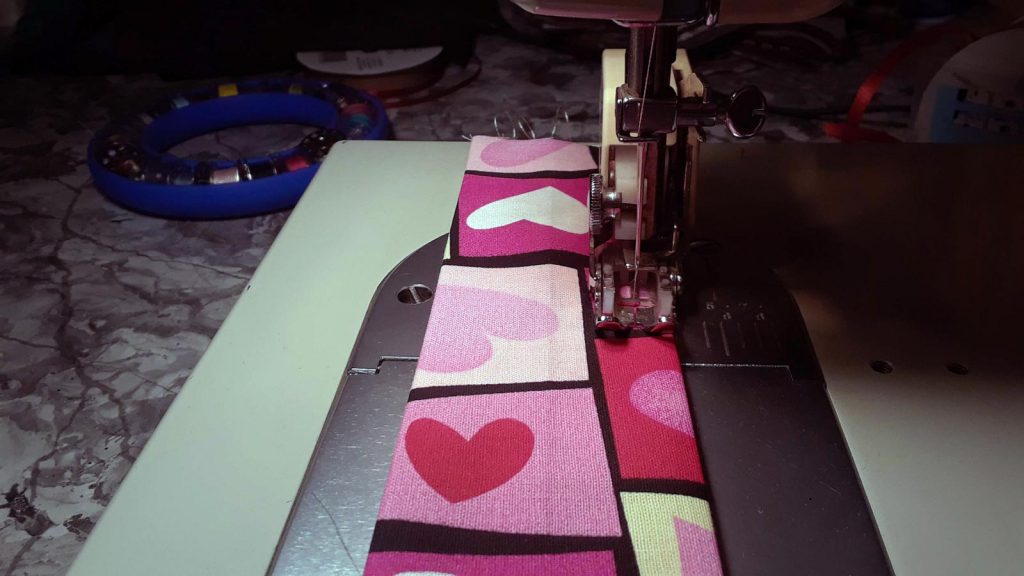
11. Place the strap pieces ironed sides’ together and top stitch down each side of the strap. I usually just line up the side of the strap with the side of the presser foot on the sewing machine. You can also use a zigzag or decorative stitch as well.
12. Place the straps between the lining and the exterior of the bag and pin in place. I place mine 3-4 inches in from each side seam.
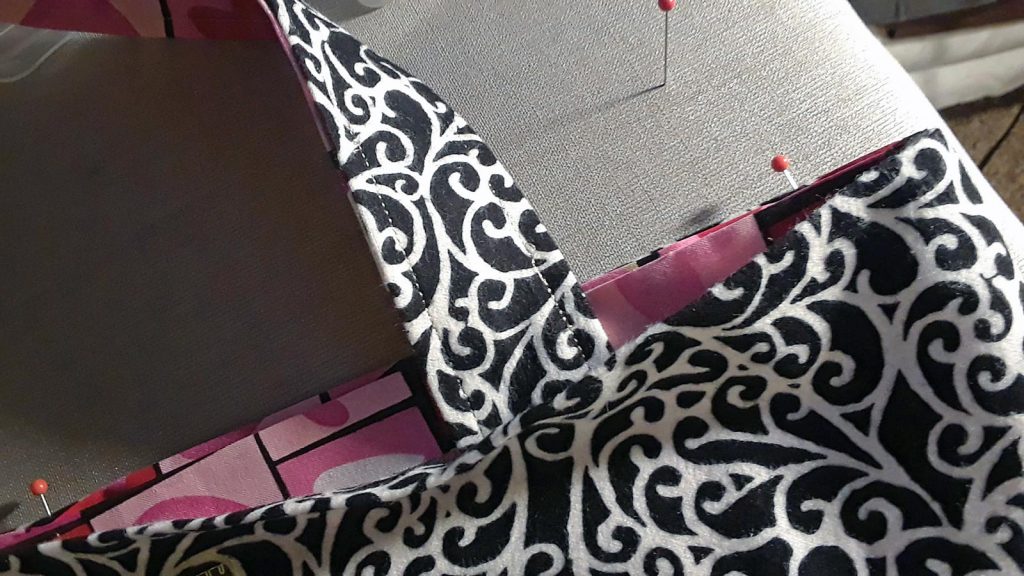
13. Top stitch the two parts of the bag together pulling pins as you go, again I just line up the top of the bag with the outside of my presser foot. I like to top stitch another line next to the first just to give the top of the bag a little more strength.
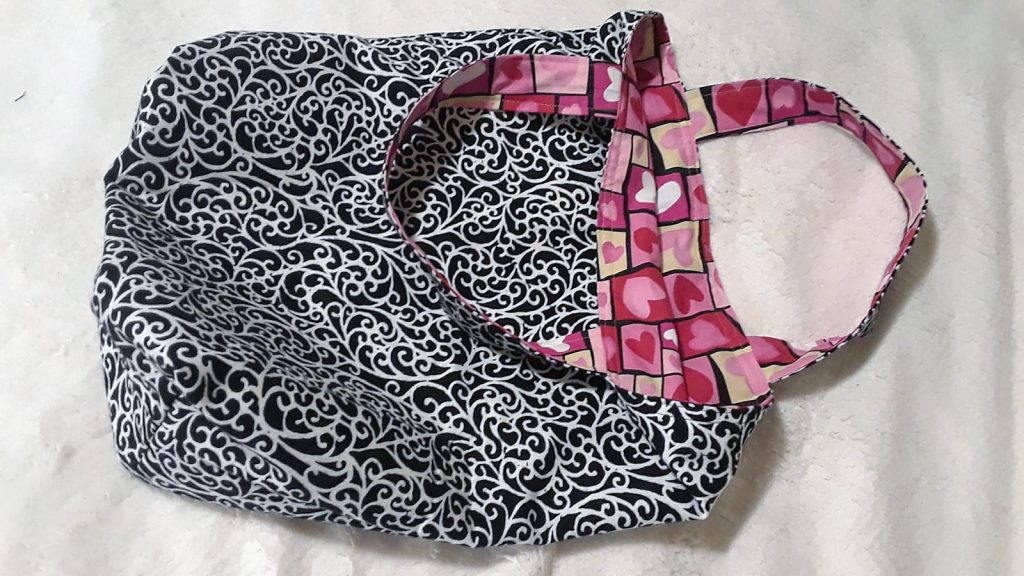
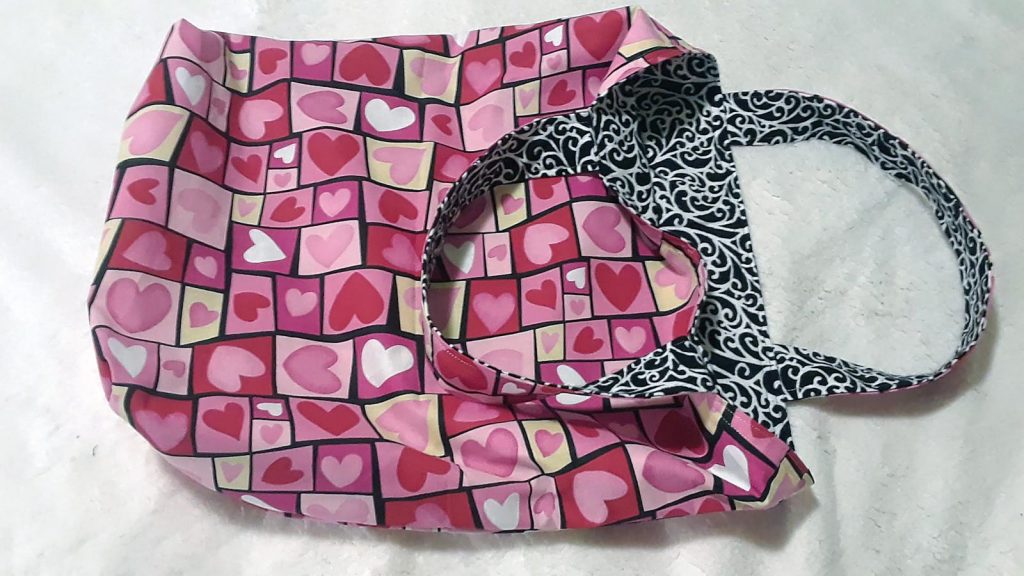
14. To give my bags a little more form along the bottom and to help them stand upright when filling them I cut a piece of thin plastic to fit inside the bottom of the bag. You could also use cardboard, foam board, or any other sturdy material, but plastic is easy to clean. You can find thin plastic sheets at craft/sewing stores, Amazon, or hardware stores. I simply remove the plastic when the bag needs to be washed.
Throw a few of these bags in your car and they will be handy when you need to stop at the store.
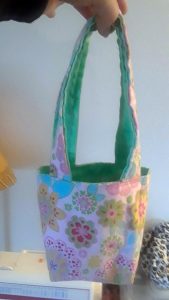

Make a few bags in smaller sizes and fun fabrics and you have a simple tote bag for books, toys, or overnight supplies for kids.

Comments
Make a reusable grocery bag — No Comments
HTML tags allowed in your comment: <a href="" title=""> <abbr title=""> <acronym title=""> <b> <blockquote cite=""> <cite> <code> <del datetime=""> <em> <i> <q cite=""> <s> <strike> <strong>