
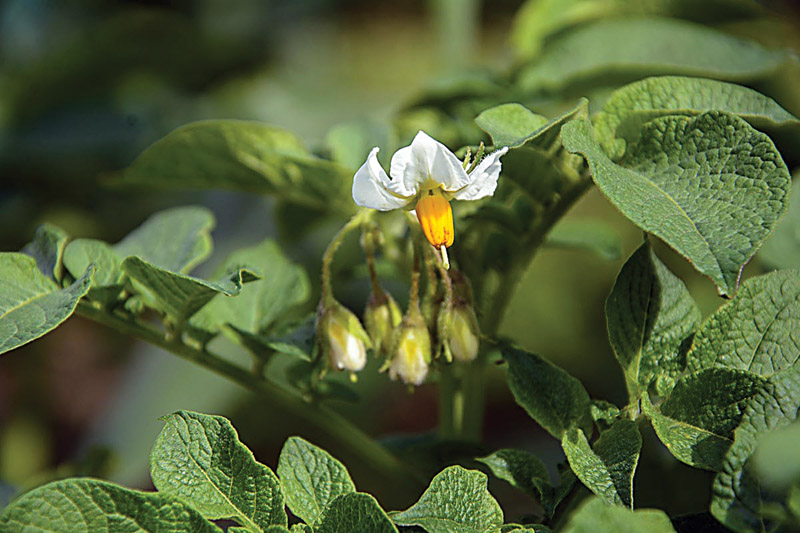
Growing potatoes
Just like any other vegetable, potatoes taste better when you grow them yourself. We don’t have room to grow a lot of potatoes, but we do grow a few every year for that wonderful home-grown flavor.
There are lots of ways to grow potatoes, but in my experience, the best ways are the tried and true trench method or in raised beds. I believe these two methods yield the best harvest so that is how we grow them.
When growing potatoes, the most important thing to consider is whether you will plant determinate or indeterminate potatoes. Did you know that just like tomatoes, potatoes can be determinate or indeterminate?
Determinate potatoes produce one bunch of tubers at the soil depth just above where the seed is planted. Determinate potatoes do not need to be “hilled” up to produce a crop. The advantage of growing determinate potatoes is that they will produce a crop earlier than indeterminate potatoes — usually in 70-90 days. Some of the most common determinate potatoes include: Red Pontiac, Yukon Gold, Norland, and Kennebec.
Indeterminate potatoes grow slower and produce tubers all along the stem. So “hilling” the potatoes will give you a larger harvest. Indeterminate potatoes grow “up,” which makes them good for growing in smaller spaces. They can be grown in barrels, grow bags, or other “potato towers.” Some common indeterminate potatoes are German Butterball, Russet, and Snowden.
Potatoes prefer a loose, well-draining soil rich in organic material, with a pH of 5.0 to 6.5. It’s always a good idea to test your soil before amending it. A neutral pH is 7.0 and potatoes prefer the soil to be a little more acidic.
Try to locate your potato bed in full sun, and in a well-draining area of the garden. Potatoes always do best in full sun; however, I have grown them in partial shade — the harvest is just not as great as potatoes grown in full sun.
If you are planting with the trench and hill method, work up the ground where you will be planting the potatoes, adding in any amendments needed as you go. Then dig trenches four to six inches wide and six to eight inches deep. Space the rows about three feet apart. Lay your seed potatoes in the trench, sprout side up, and cover with soil. If you are planting an indeterminate variety, start hilling the plants when they are about six inches high. Hilling potatoes is easier in the morning when the potatoes are standing tall. As the day warms up, potatoes can sometimes get droopy which makes it harder to add soil around them. As an alternative you can add straw as the potatoes grow, but I think the harvest will be smaller hilling with straw rather than soil. It’s important to make sure you only use straw that has not been sprayed with any herbicide.
If you are using the raised bed method, use a bottomless raised bed and loosen the soil where you are going to place it. If you are growing an indeterminate variety fill the raised bed about half full of your amended soil. Plant the potatoes about ten inches apart in all directions, and three to four inches deep. Add more soil as the potatoes grow until the bed is filled. You’ll want to start adding soil when your potatoes are about six inches tall. If you are growing a determinate variety, fill the bed with soil and push your seed potatoes into the dirt six inches deep and ten inches apart.
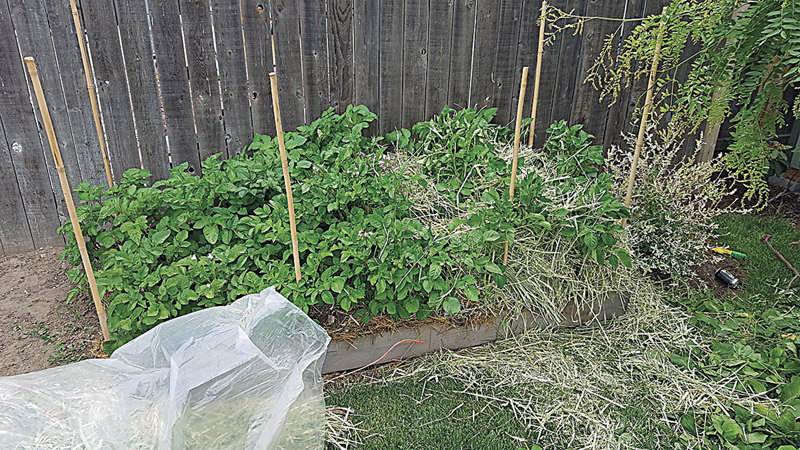
Seed potatoes can be purchased just about anywhere other plants and seeds are sold, or you can save your own seed potatoes from year to year. Make sure any seed potatoes are healthy and without scab or other diseases before planting them. I have been told that you shouldn’t plant store-bought potatoes because they are sprayed with a sprouting inhibitor, but I have planted them and gotten plenty of potatoes from them at harvest time. (Who hasn’t found potatoes in their pantry that were trying to grow right on the shelf)
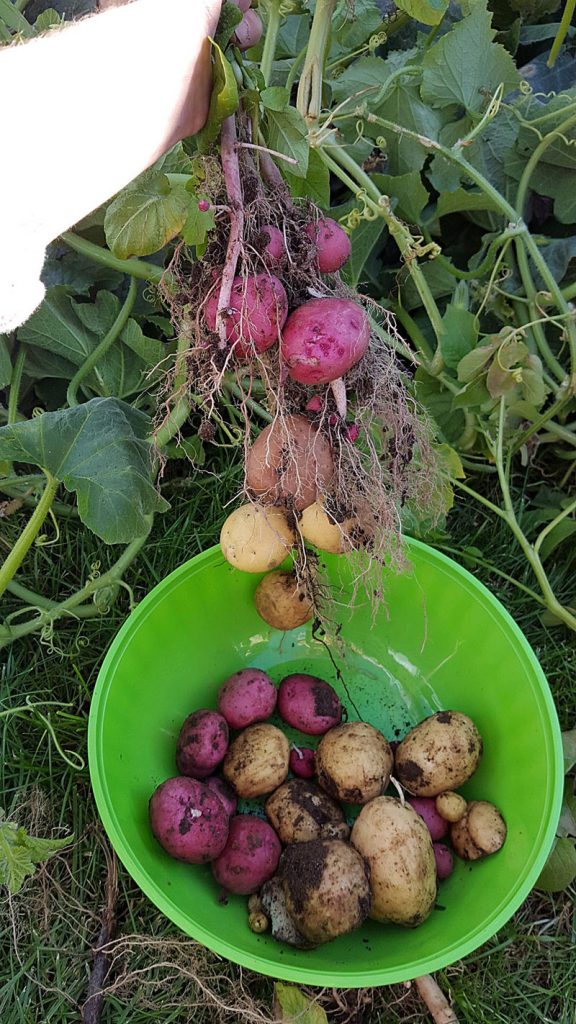
You can harvest some new potatoes before the entire plant is ready to harvest. A week or so after the plant flowers, gently dig underneath with a trowel or your hand and pull out a few potatoes that feel like they are the right size. The rest of the potatoes will continue growing. It is time to harvest the main crop of potatoes when the foliage dies back. Most potatoes are harvested in fall or early winter depending on variety and planting time.
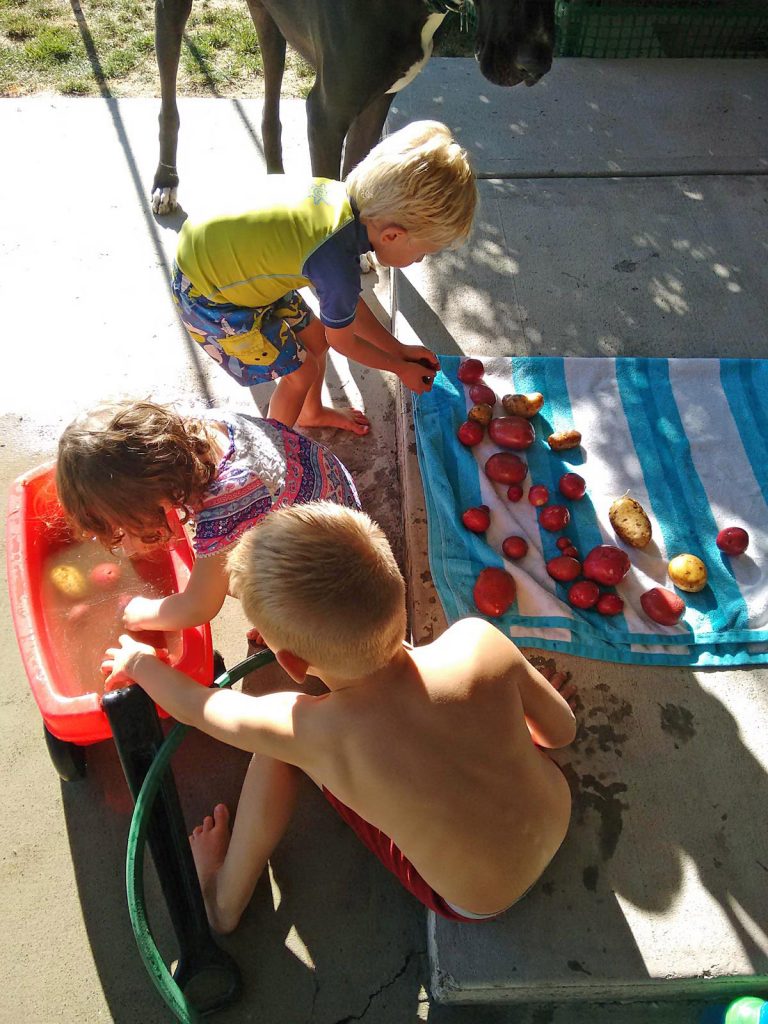
Here they are washing the potatoes they helped harvest and that will become part of their dinner.
To harvest potatoes let the soil dry out a bit and remove the dead foliage before digging the potatoes. Dig a few potatoes and check the skin by rubbing it with your fingers. If the skin rubs off easily, the potatoes are not quite ready to harvest. Use the few you dug up for dinner and let the rest wait a little longer; they will be fine as long as you don’t get a hard freeze. After a week or so, dig the potatoes out of the ground being careful not to damage any. If any do get damaged, set them aside since they will have to be used right away.
Lay the potatoes in a shady place for a while to make sure they are completely dry. Once they are dry brush away any dirt on them. Don’t wash them in water as washing them will add moisture and possibly start the growth of fungus or bacteria. You can wash them thoroughly when you are ready to use them. Once you are sure the potatoes are dry, store them in an open bin in a dark place that is between 45 and 60° F. (Small laundry baskets make great potato bins!) Check your potatoes often and remove any that are becoming soft or icky. Store your potatoes as far away from other fruits and vegetables as possible. Some fruits and vegetables give off ethylene gas that will cause stored potatoes to start sprouting.
Whether you want to grow a few gourmet potatoes for fresh eating, or a large crop for winter storage, once you realize how easy it is to grow potatoes you will want to grow them every year!

Comments
Growing potatoes — No Comments
HTML tags allowed in your comment: <a href="" title=""> <abbr title=""> <acronym title=""> <b> <blockquote cite=""> <cite> <code> <del datetime=""> <em> <i> <q cite=""> <s> <strike> <strong>