
Growing microgreens
We are lucky to live in the Coastal Northwest and can usually manage to keep a few vegetables going through the winter. However, the growth slows down considerably and I become impatient waiting for the lettuce, chard, and kale to regenerate after cutting. Having a pantry full of last season’s harvest is great, but you can’t beat the taste and nutritional value of fresh greens so I started growing microgreens.
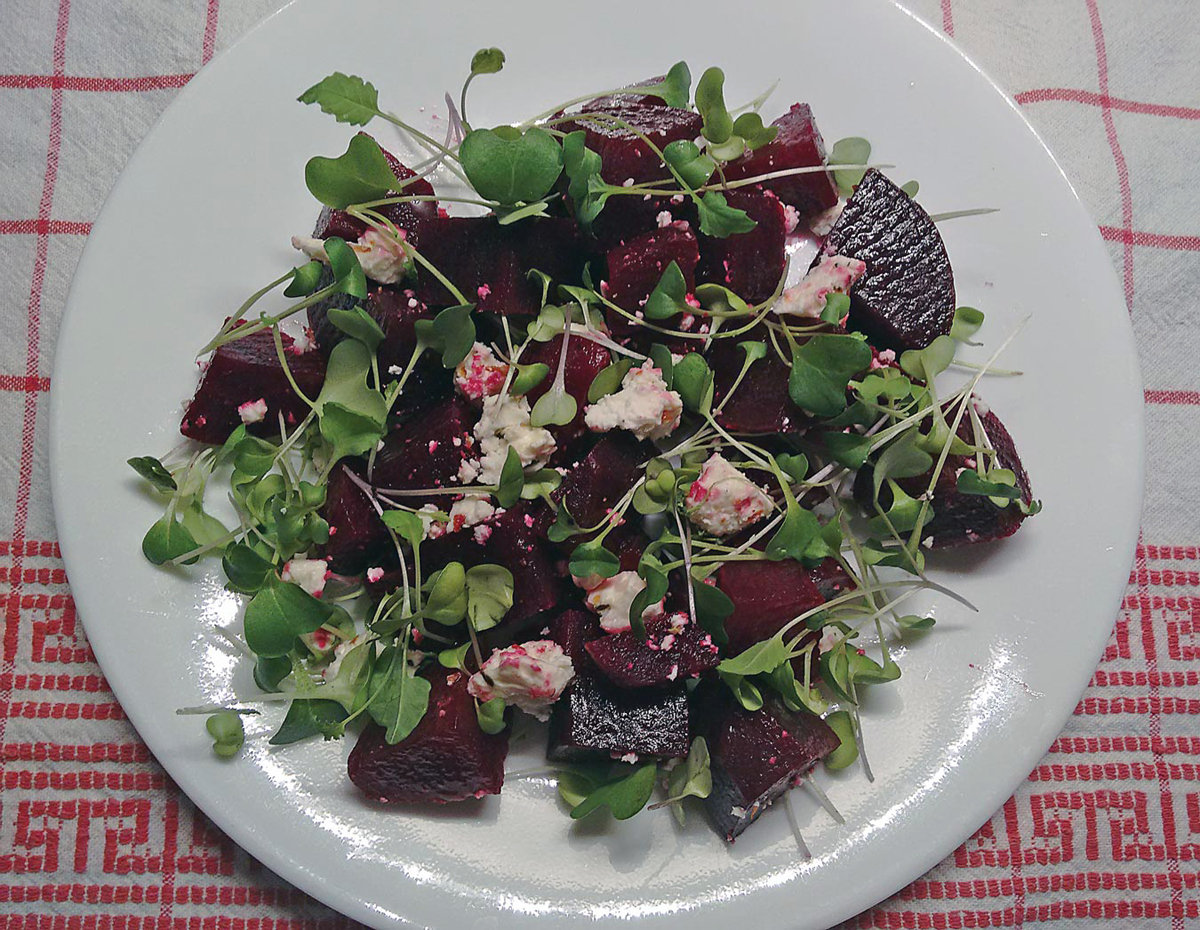
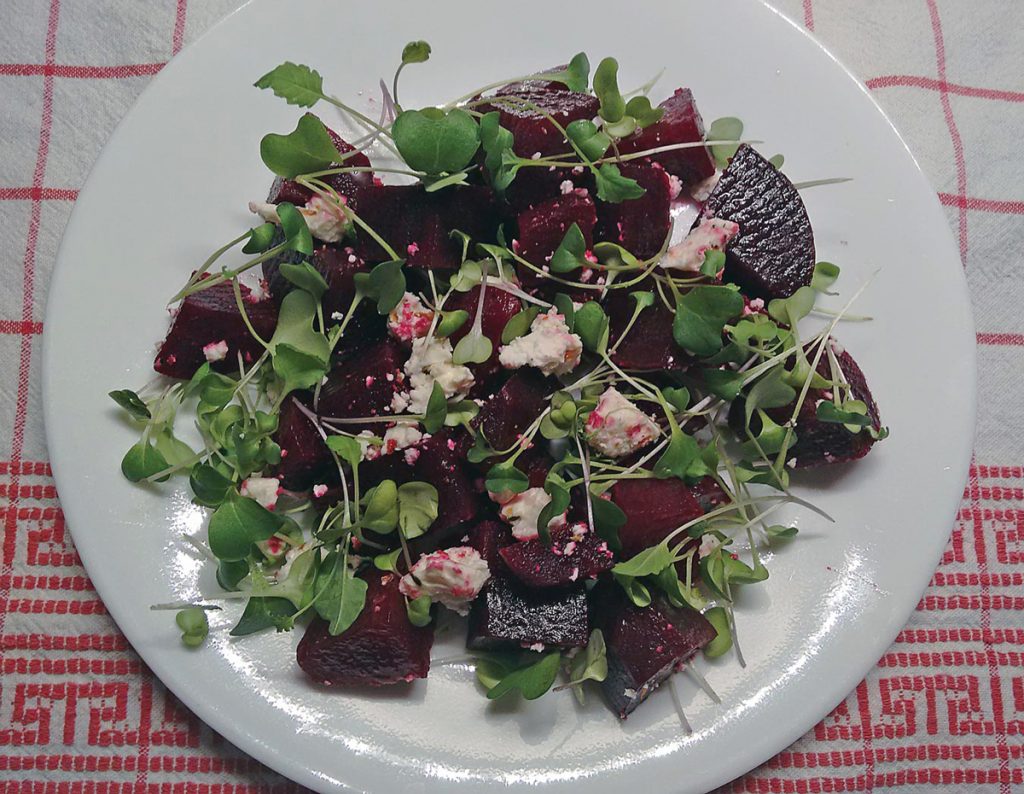
Microgreens contain higher levels of vitamins and carotenoids than their full-grown counterparts and are quite easy to grow. They come in many flavors, from mild to spicy or peppery depending on the variety of vegetable or herb grown. Lettuce is quite mild while radish is a nice peppery addition to salads or sandwiches. A mix of kale, broccoli, bok choy, and arugula has a nice, full flavor and is good in omelets, sandwiches, and as a nutritious topping for a warm, creamy soup. Beet, rainbow chard, purple basil, red amaranth, and red cabbage microgreens are a colorful addition to salads and are a nice garnish for any meal.
Setting up a grow station
I have a tall, long table that is perfect for a growing station. Ian built a wooden stand from salvaged lumber to hang the grow light. A few cat litter boxes with a plastic greenhouse tray in the bottom (to provide drainage) are the growing trays. The grow light — LED to save electricity — came from Amazon (Monios-L 4FT LED Grow Light — $49.99) and the cat litter boxes came from the local hardware store. I already had the plastic greenhouse trays. This setup cost a total of $67.
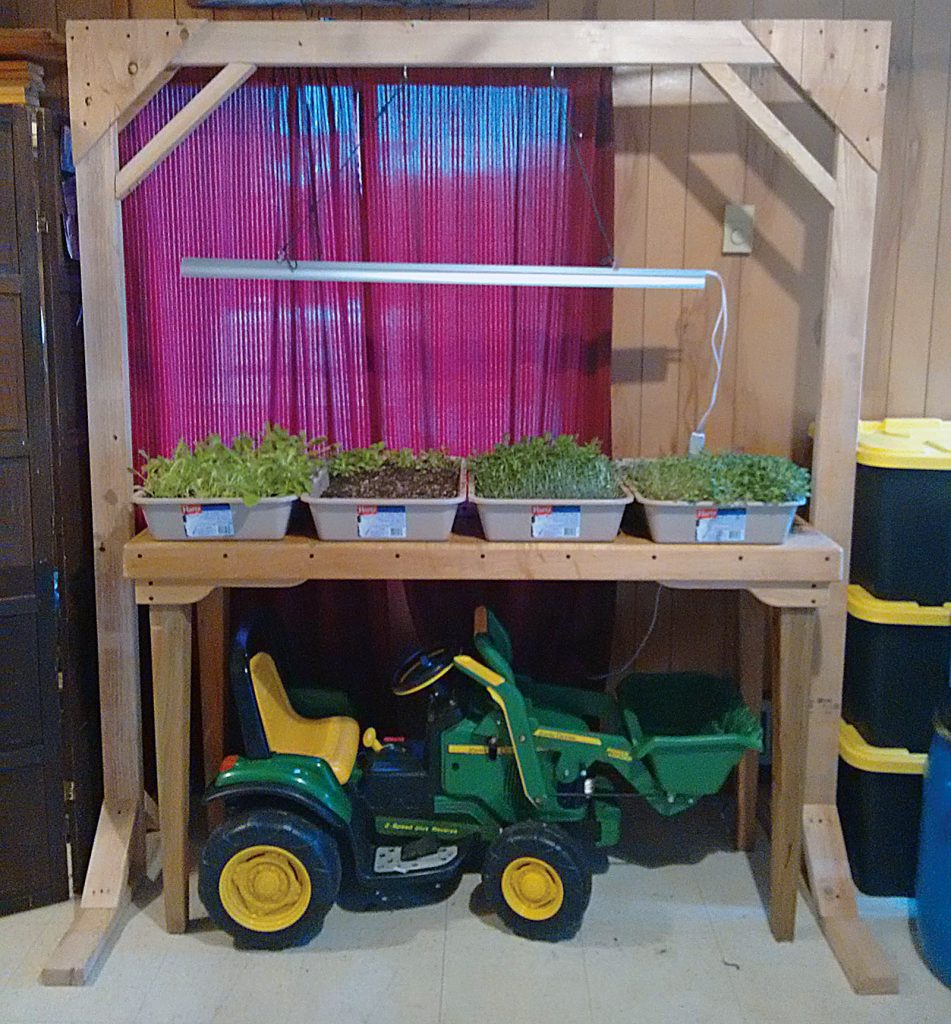
If you live in a sunny location a grow light may not be necessary. Here in the Coastal Northwest we can go days, and sometimes weeks, during the winter months without seeing the sun, so I felt the light would provide better conditions for the growing greens. I placed the grow station in front of a south facing window to take advantage of sunny days. When the sun is out I do not turn on the grow light. When there is no sun I turn the grow light on at 9:00 in the morning and turn it off at 5:00 in the evening. (The greens do not need more than 8 hours of light per day.) The light could be set to go on and off with a timer, but my microgreens are grown in a small outbuilding on our property and I find turning the light on and off manually forces me to go out to the studio twice a day and I am able to monitor the growing greens more closely.
I already had some soil that we purchased last year. I think any type of good potting soil will work. You could also make up your own soil mix using a basic potting mix recipe of one part peat moss, one part perlite, one part vermiculite, three parts compost, one part sand, and a little bit of lime.
There are all kinds of microgreen growing kits available online or in catalogs, but this setup works quite well for the amount of greens I want to grow and I can also use it to start my tomato and pepper plants.
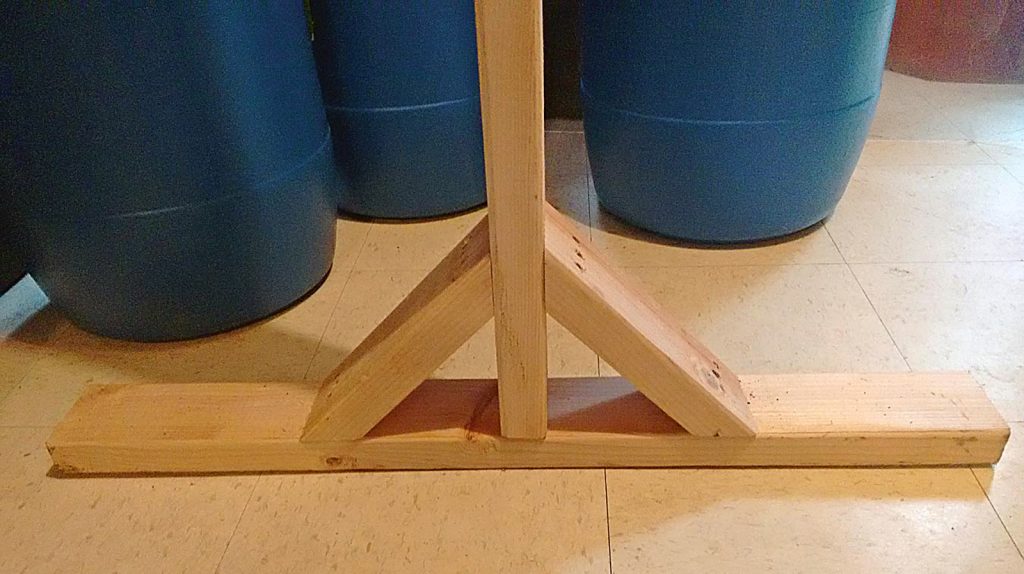
The stand to hang the light is a simple frame of two 2×4 uprights and a 2×4 across the top with some bracing to provide stability. The stand was built to fit the table I had available.
Growing the greens
Here are the basic instructions for planting microgreens:
Cover the bottom of the container with a few inches of damp potting mix. Level the soil and pat down a bit with your hand.
Sow seeds thickly and evenly on top of the soil and press into the soil gently — you don’t want to compress the soil too much.
Cover the seeds with a thin layer of soil. Use a mister to dampen the soil.
Mist the soil as necessary to keep it damp, but not wet while waiting for the seeds to sprout. Depending on the variety and the temperature of the soil, the seeds will take 3-8 days to sprout.
After the seeds have sprouted continue to mist once or twice a day as needed. (If your room is not too warm you may only need to mist every other day.)
I keep the temperature at about 60° F with an electric oil-filled heater on the lowest setting. Rather than use the heater when the sun is out I open the drapes to let the sun warm the room.
Harvesting
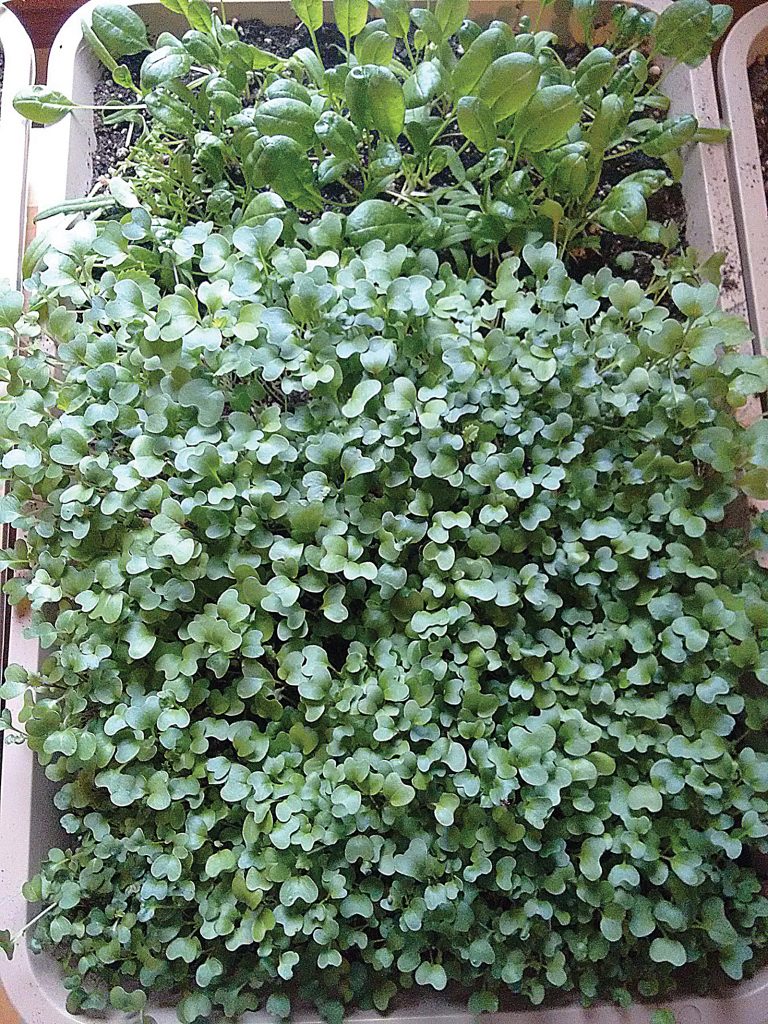
Microgreens are harvested shortly after the first set of “true” leaves appear. You can expect to harvest the greens anywhere from 10-18 days after sowing the seeds. Except for the lettuce and spinach, I usually harvest my greens when they are from 1 to 2 inches tall. I have one tray of lettuce that I let get quite a bit larger. When I harvest this lettuce I carefully cut it so that there are a few leaves left on each plant — in cutting this way the lettuce will continue to grow.
I rinse the microgreens in a colander and lay them out on a clean towel to dry.
Use the greens immediately for the best flavor. The remaining cut greens can be stored in the refrigerator in a plastic bag or Tupperware-type container for a few days. Place a damp paper towel in the container to keep the delicate greens from wilting.
When you are ready to plant more greens simply pull out the roots and plant again, or dump the whole container and start with fresh soil.
Types of greens to grow
You can grow just about any type of vegetable or herb as a microgreen. Start with the easiest to grow: brassicas — such as cabbage, broccoli, kale, and bok choy. If you want to grow colorful greens try: beets, rainbow chard, purple basil, and red cabbage. You can get creative and try pea, corn, buckwheat, or oat shoots.
Remember, microgreens are really just the seedling stage of a regular vegetable or herb planted very close together. By experimenting with different varieties you will end up with a few favorites.
Using your microgreens
From simply putting them on sandwiches, in omelets and salads to more complex recipes, there are several ways to enjoy your microgreens. You can use them to dress up a potato or pasta salad, put them in stir-fries, chop them into guacamole, use in place of spinach in quiche, or use as a topping for pizza or crostini.

Purchasing seeds
You can purchase seed mixes specifically for growing microgreens from several different seed companies, and, of course, Amazon. Most seed companies offer seeds in bulk and you can make up your own mixes. Or you can just plant a single type of seed in each tray you have.
Growing microgreens indoors can provide you with another means of getting good nutrition throughout the winter months. And if you have space in your outdoor garden continue growing them outdoors for even more variety in your summer garden.
Originally published in Backwoods Home Magazine, Issue #176 • April/May/June, 2019

Comments
Growing microgreens — No Comments
HTML tags allowed in your comment: <a href="" title=""> <abbr title=""> <acronym title=""> <b> <blockquote cite=""> <cite> <code> <del datetime=""> <em> <i> <q cite=""> <s> <strike> <strong>